- Tech, OC'ing, SEO and more
- Hits: 126401
Article Index
Overclocking guide for the AMD Ryzen 3 2200G and 2400G APUs.
This overclocking guide is for the Ryzen 3 2200G and Ryzen 5 2400G APU taking the Ryzen 3 2200G as an example to go over the BIOS settings using an X370 from ASUS. In this guide, there will be a range of screenshots showing all the settings you need to tweak for quick reference. The only difference between the 2200G and 2400G is the core count thus the heat output will be greater for more core count as well as the silicone lottery in general. My build is total overkill for the APU but it was intended for the Ryzen 5 1600X with an upgrade path to the Ryzen 5 3600X any B350 or B450 Motherboard will be just fine for a Ryzen APU but you can consider an upgrade path even with B350 and B450 motherboards if you wish to do so.
My Rig.
- Case: Phanteks Enthoo Luxe.
- Motherboard: ASUS STRIX X370-F.
- CPU: AMD Ryzen 2200G APU.
- RAM: Corsair DDR4 LPX 16 GB @ 3200.
- GPU: Radeon RX Vega 8 APU.
- PSU: EVGA SuperNOVA G3 750W Gold.
- C Drive: Crucial MX300 M.2 525GB
- CPU Cooling: Gelid Phantom Black.
Getting Started.
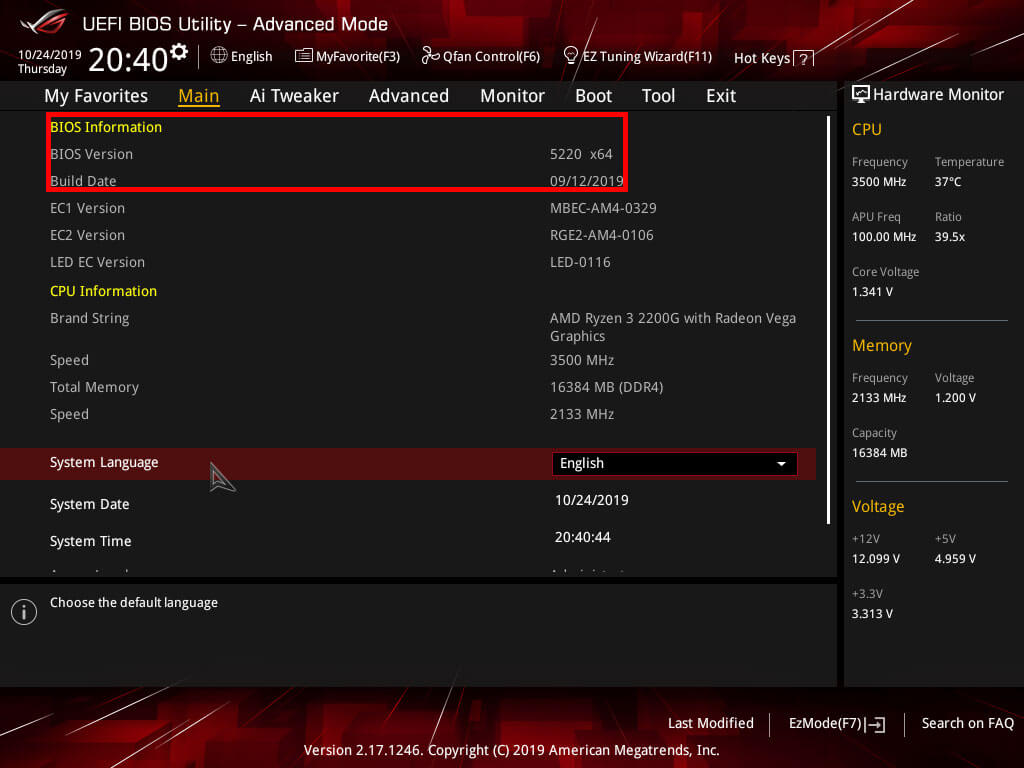
The usual hardware checks and make sure your BIOS is updated. With the new Ryzen series, older motherboards might need a BIOS update before being able to run the 2000 series. You may apply for a bootkit and assistance if you happen to have an older motherboard: AMD 2000 series Support. Also, ensure to install the latest driver for your chipset(B350/X370/B450/X470) and enable to AMD Ryzen power plan. Also, make sure when buying RAM it is on the QVL list however by now most DDR4 kits should work with Ryzen since the BIOS Mirco code has matured greatly.
You also want to download the following programs for stress testing your overclock. These are a vital tool for stress testing and monitoring if you already have tools you can use those but these programs I highly recommend and were used while writing this overclocking guide.
- HWiNFO64: https://www.hwinfo.com/download/
- Prime 95: https://www.mersenne.org/download/
- Heaven Benchmark: https://benchmark.unigine.com/heaven
BIOS Settings.
Start with setting your RAM to 2133mhz or 2400mhz this is the base speed for DDR4 kits. Changing the RAM speed to the advertised speeds should be done later on after establishing a stable overclock on the CPU and internal GPU. Also noteworthy here is to point out that faster RAM will increase performance since the infinity fabric clock speed is tied to the RAM clock speed however after 3200mhz you will see diminishing returns. And lastly, both the CPU and Vega GPU overclocking will be covered in this overclocking guide. Make sure if you are using a separate GPU not to use the Vega GPU overclock settings as is while it being overclocked will do no harm but it will generate additional heat. For this guide, both the CPU and Vega GPU were overclocked to the max this will give you a pretty good idea where you may end up with your overclock using the settings within this guide.
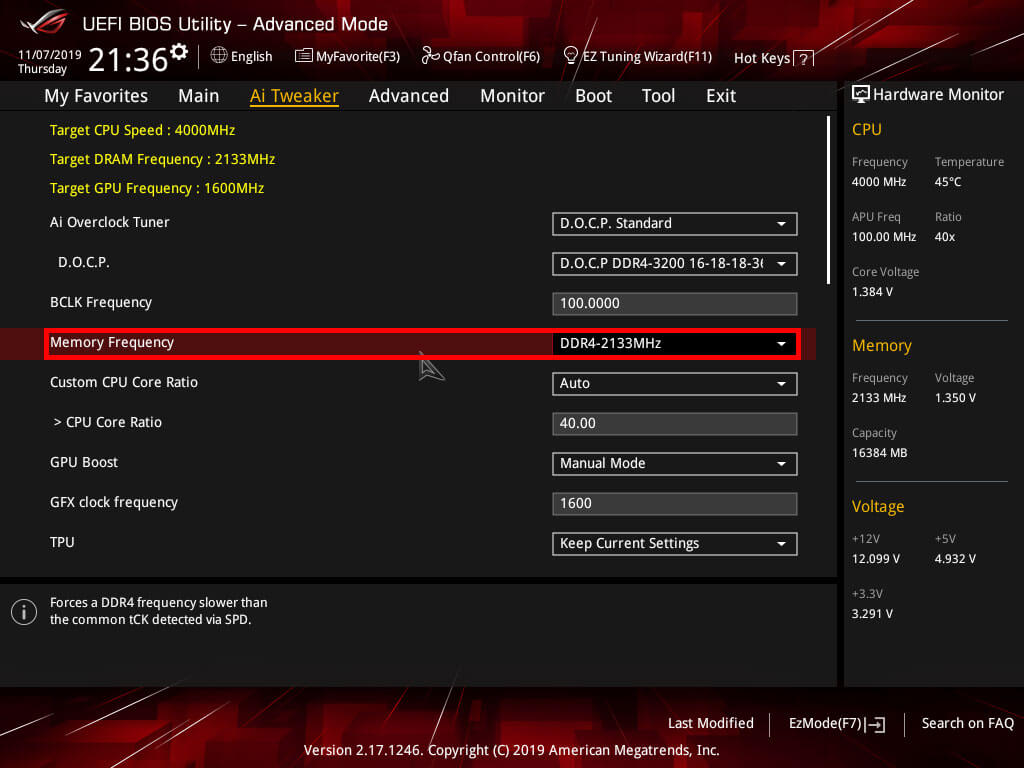
DIGI+ VRM Settings 2200G/2400G.
Depending on your motherboard quality there will be some settings here you can adjust to take into account lower end VRM's I used conservative settings. Some settings as described might not be there on lower-end motherboards but try to set them as high as possible and revisited this portion once you have achieved a stable overclock. Settings here will affect you're overclocking and how high you can go in the overclock so your mileage may vary.
- VDDCR CPU Load Line Calibration: Extreme, LLC 6 or higher depending on your core clock I used LLC 6 @ 4.0Ghz
- VDDCR CPU Current Capability: Extreme or 120% or higher.
- VDDCR CPU Switching Frequency: Set to Manual and then set between 300 to 400 or Extreme.
- VDDCR CPU Power Duty Control: Set to Extreme.
- VDDCR CPU Power Phase Control: Set to Extreme.
- VDDCR SoC Load Line Calibration: Extreme or LLC 6 or higher I used LLC 6 to get to 4.0Ghz
- VDDCR SoC Current Capability: Extreme or 120% or higher.
- VDDCR SoC Switching Frequency: Set to Manual and set between 300 to 400 or Extreme.
- VDDCR SoC Power Phase Control: Set to Extreme.
Load Line Calibration will overshoot slightly at LLC 6 or higher and slightly undershoot at LLC 5 and lower this will affect the stability of your overclock changing LLC and VDDCR volts could lower your temperatures while remaining stable. A B350 motherboard I tested only had options to adjust LLC to Extreme leaving very little control resulting in having to dial in slightly higher VDDCR voltage to compensate for Vdroop. Also when using the 2400G over the 2200G you will have to adjust LLC and VDDCR to retain a stable overclock to account for the increased core count.
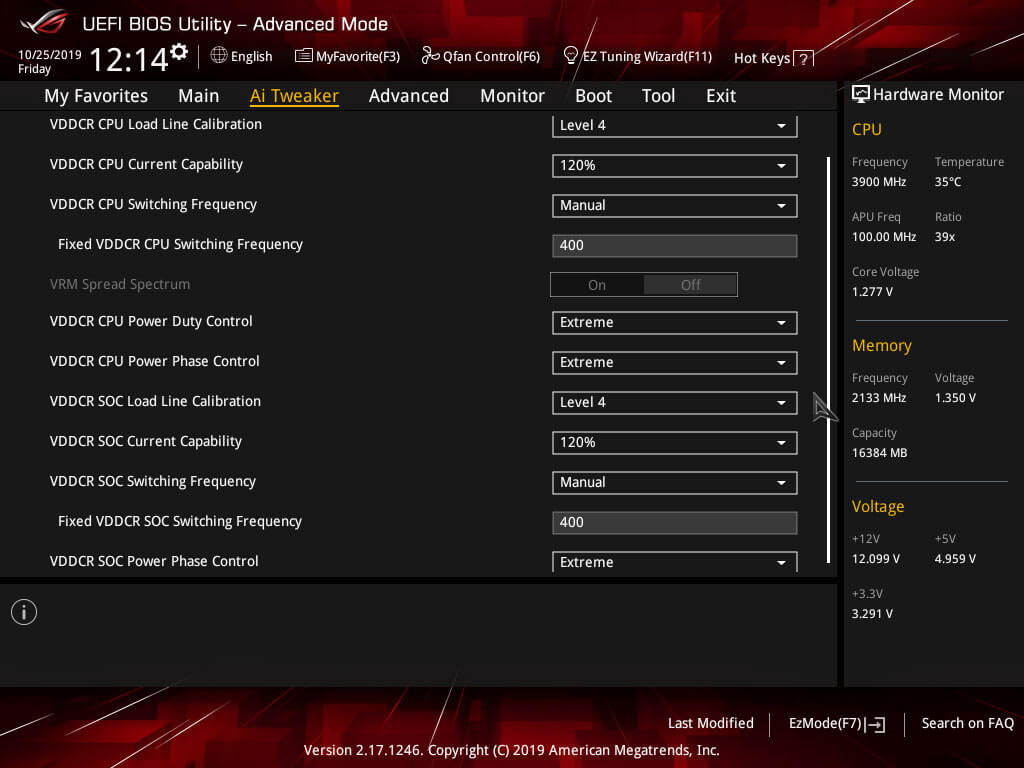
AMD CBS.
Under the Advanced tab, there is a section called AMD CBS head over there and change the following settings. Core Performance Boost should be left off since you want to manually enter the Core Ratio and not boost at all. And Global C-state Control will cause instability if it is left one since it will attempt to lower voltages when the CPU is idle.
- Core Performance Boost: Set to Disable.
- Global C-State Control: Set to Disable.
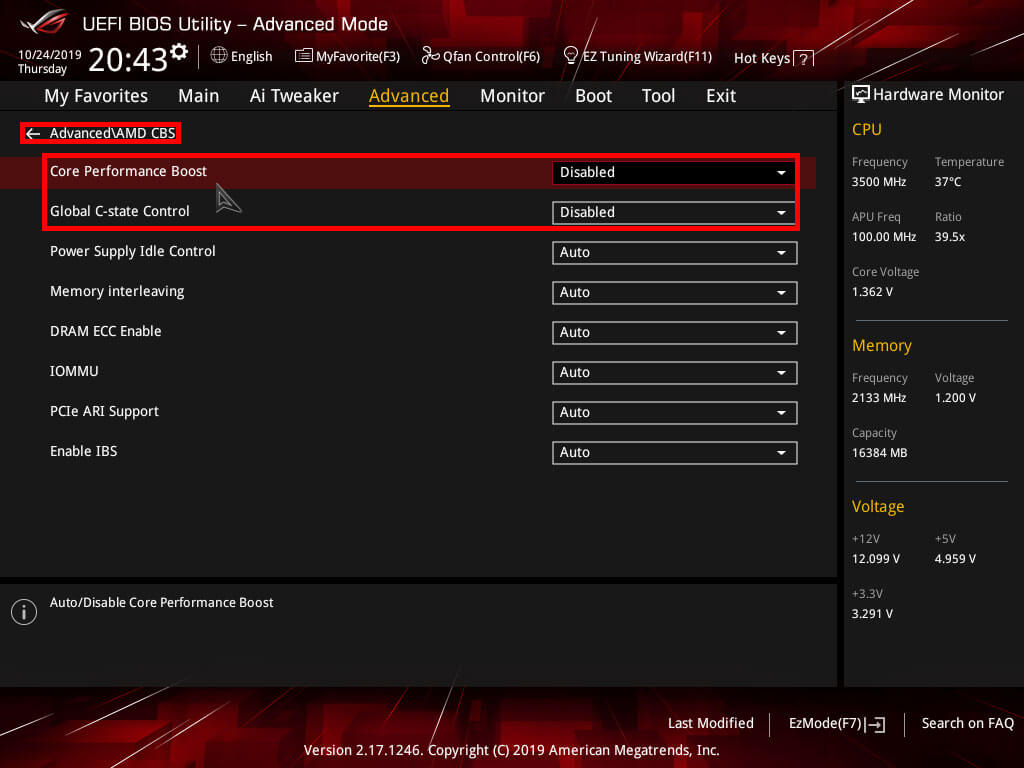
VDDCR CPU Voltages & GFX Core Voltages.
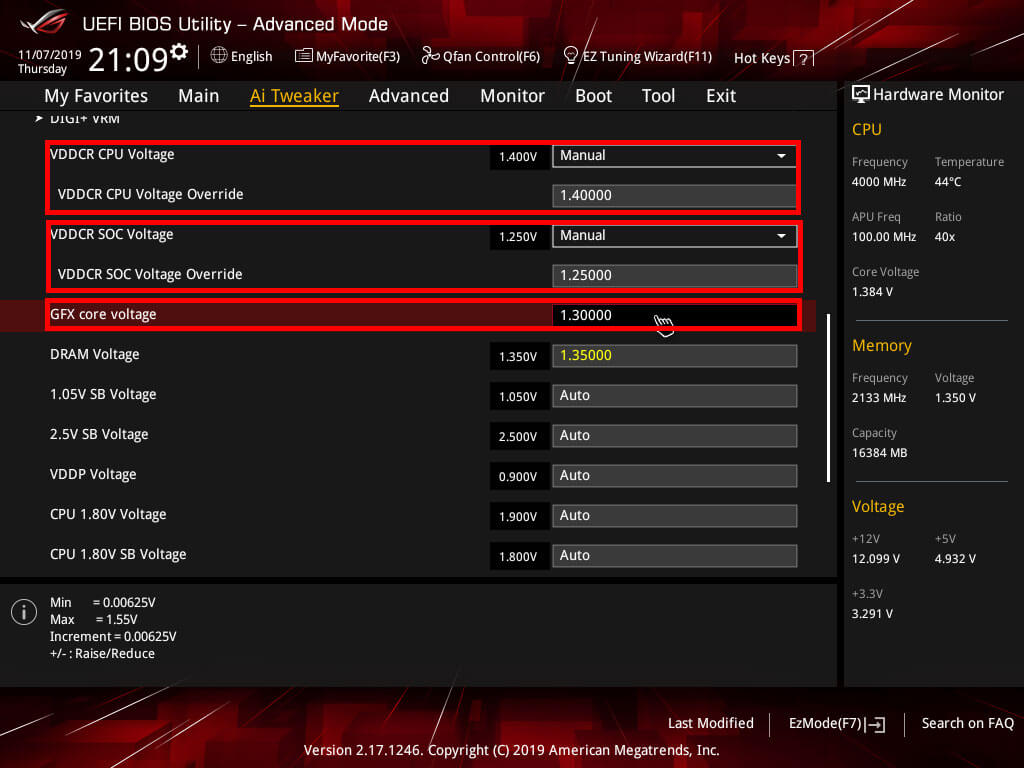
This final step will be to adjust the CPU Core Ratio, GFX clock frequency, VDDCR CPU Voltage, and GFX core voltage. You want to start however with the CPU overclocking and stress test if the overclock is stable and then adjust the GFX settings and test them with the CPU overclock combined this will make it easier to find out if there is any instability in your overclock.
VDDCR CPU Voltages.
- AMD Recommended Voltage: 1.350 to 1.375 volts.
- Community Recommended Voltage: 1.400 to1,450 volts.
- Absolute max and not recommended: 1.500 to 1550 volts.
GFX core voltages.
- AMD Recommended Voltage: 1.1 to 1.2 volts.
- Community Recommended Voltage: 1.3 to 1.4 volts.
- Absolute max and not recommended: +1.4 volts and above.
Start with entering a Core Ratio of 39.00 and adjust the VDDCR CPU Voltage to 1.4 most Ryzen APU's will boot and pass a stress test do a quick Cinebench run and see if it is stable at all if that passes run a Cinebench and a 10 minute Prime 95 Small FFT's stress test. If this fails you want to go back into the BIOS and set a Core Ratio of 38.50 and repeat the above-named process. If it passes you can keep the Core Ratio as it is but lower the VDDCR CPU Voltage to 1.3750 and do Cinebench run and validate that with a Prime 95 Small FFT's stress test 10 minutes. When that passes keep lowering the voltage and repeat the Cinebench and Prime 95 Small FFT's stress tests until it fails. Now save these settings in a BIOS profile and try to run a Core Ration of 40.00 with a VDDCR CPU voltage of 1.4 and do another Cinebench and Prime 95 Small FFT's stress test. When it passes lower the VDDCR CPU voltage by 0.25 and repeat the Cinebench and Prime 95 Small FFT's stress tests until it crashes. When you are satisfied with your Core Ratio and VDDCR CPU Voltage save those settings as well and do at least a 30 minute Prime 95 Small FFT's stress test.
When your CPU overclock is stable than its time to overclock the internal Vega GPU start by adjusting the GFX core frequency to 1600, VDDCR SoC Voltage to 1.25, and GFX core voltage to 1.3 save those settings and boot into windows. Now do a quick Heaven Benchmark of 10 minutes and check your monitor for stuttering or artifacting. When it passes you can go back into the BIOS and adjust the GFX core frequency to 1650 and stress test with Heaven benchmark, Or lower the GFX core frequency when it fails. Rinse and repeat adjusting GFX core frequency, GFX core voltage, and VDDCR SoC Voltage. Once you are satisfied with your Vega GPU overclock do a stress test with Heaven benchmark for about 30 minutes.
The final step would be setting your DDR4 kit to the advertised speed and making sure that is also stable with doing one final burn-in test, just select the D.O.C.P./XMP profile and it should set all the settings for you.
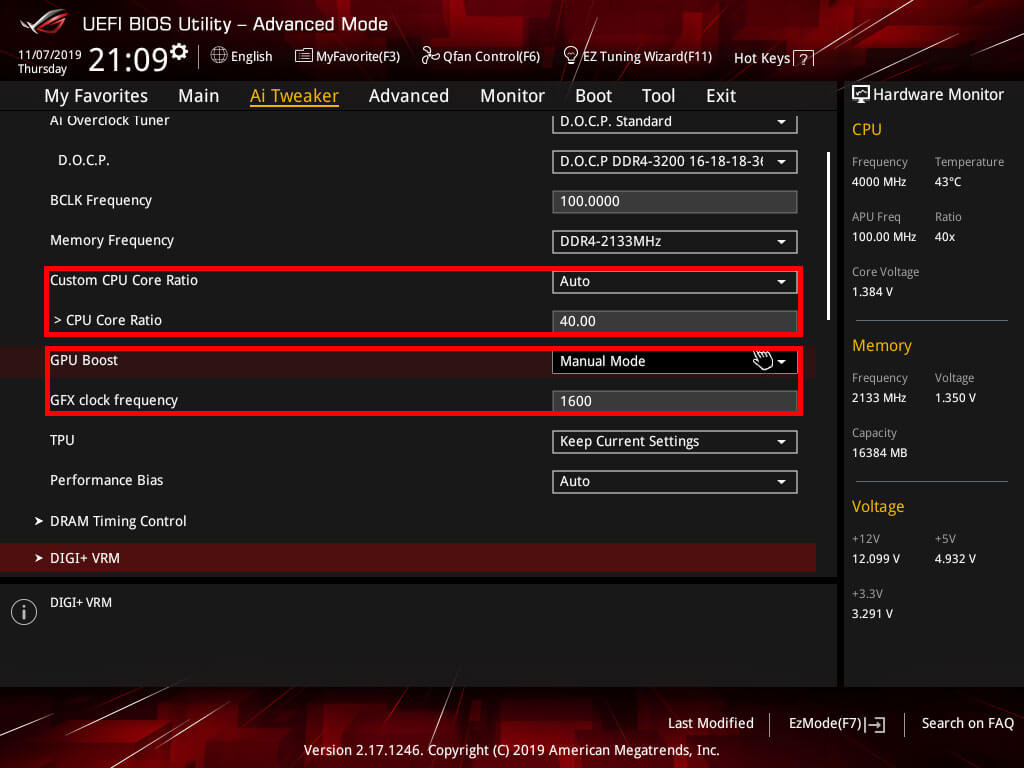
VDDCR CPU Voltages Curve.
This is my voltage curve for this specific AMD 2200G APU yours may be different due to the silicone lottery however this can be used as an indication and what voltages you want to use for what clock frequency. If you can use lower voltages with a higher clock frequency you have a better chip thus you might be able to clock it even higher.
2200G @ 3.7Ghz.
- 37 Core Ratio.
- VDDCR @ 1.18125
- CPU LLC 6
- SOC LLC 6
- Validation with P95 Small FFT's and Custom 8K FFT's.
2200G @ 3.8Ghz.
- 38 Core Ratio.
- VDDCR @ 1.25
- CPU LLC 6
- SOC LLC 6
- Validation with P95 Small FFT's and Custom 8K FFT's.
2200G @ 3.9Ghz.
- 39 Core Ratio.
- VDDCR @ 1.3
- CPU LLC 6
- SOC LLC 6
- Validation with P95 Small FFT's and Custom 8K FFT's.
2200G @ 4.0Ghz.
- 40 Core Ratio.
- VDDCR @ 1.4125
- CPU LLC 7
- SOC LLC 6
- Validation with P95 Small FFT's and Custom 8K FFT's.
Now you should have a stable overclock on your AMD 2200G or AMD 2400G APU, you could even opt in to consider a longer stress test of both overclocks by testing for a couple of hours and monitoring temperatures as well. With my 2200G I reached 4.0Ghz with a noise level of 20 - 25 DB @ 4.0Ghz with a Gelid Phantom Black tower cooler But you want to consider the noise level as well if you have a cheaper cooler.
- Paul "HisEvilness" Ripmeester


