- Gaming.
- Hits: 101465
User Rating: 3 / 5


Article Index
This guide is for the mini-game Gwent that can be found in Witcher 3 The Wild Hunt. The goal of this guide is to provide insight into various strategies you can use to win games from the early start of the game and the "High Stakes" tournament and complete your achievement "Collect them all". There are 5 different decks in The Witcher 3 mini-game Gwent but each will offer a different approach and within each deck, you can have various play styles. The 5th deck was added with the "Blood and Win" Expansion called the "Skellige Deck" and the other 4 decks represent the Nothern Realms, Scoia'teal, Nilfgaardian, and monsters. Of all the decks the Nothern Realms deck is the easiest, to begin with since the other decks require some farming to get the right cards and quantity of those cards. Also, each faction has it's leader cards that offer special buffs to specialize in your strategy. There are also neutral cards that impact the lanes of the Gwent games in the form of weather, Hero's, side characters, decoys, buffs among others. And finally, I will link to some interesting articles that helped me get started and collect all the cards in Witcher 3 The Wild Hunt to further expand your bits of knowledge on Gwent.
Overarching strategies.
At the start of the game, you will receive a starter deck of Gwent cards and the best way to receive more cards is by playing vendors and buying them of vendors these vendors will also play Gwent so you can also win some cards. It is best to travel around first and buy as many cards as you can and then double back to the vendors and play them for their card as each vendor will only drop one card after that you get random items. And then try some of the quests like "Gwent Playing Innkeeps" that drop cards by playing vs various characters who have in general better decks. The best deck for this early phase is the "Northern Realms Gwent deck" since most cards will be from that deck as well as most of the vendors selling cards, also you need a minimum of 22 cards in each deck and 10 neutral cards the latter is however not required. So, in the beginning, you won't be able to use the other faction decks due to the fact you do not meet the required minimum amount of cards in your deck even if so they might be too low in unit strength to win Gwent games and the 5th faction is from the Blood and Wine expansion you will unlock later on.
Start Mastering Gwent:
- Decoy cards: Remove a friendly card from the playing field so it can be played again. Great to retrieve opponent spy cards so you can play them your self or after your opponent uses a decoy card to retrieve your spy card and then plays it so you can retrieve again you can do this as long as you have decoy cards. It also works for the Medic cards so that you may play the Medic card and retrieve it and play it again to retrieve more units that were destroyed or used in a previous round.
 |
- Commanders Horn: Limited to one per row and doubles all units in that row, excluding Hero cards. Good synergy with Medic cards who can retrieve discarded cards.
 |
- Spy cards: Place a card on the opposite side to receive 2 random cards from your deck, however, this will count towards your opponent total points. Great synergy with the Decoy card to buff your hand with more cards from your reserve can include any card so Hero cards also can appear.
 |
- Scorch cards: Kills the strongest cards including friendly cards. Great vs Monsters and Scoia'tael decks who rely heavily on Muster cards. But be aware is will kill all the strongest card so when you play it for instance vs a play of Muster cards with a strength of 4 and you have a card with a strength of 4 those will also be discarded and when you have a higher unit strength card it will only kill that card and not opponent card with a lower value.
 |
- Medic cards: Revives one card and plays it instantly no hero(Witcher, Yennefer, etc) or special cards(Scorch, Decoy, etc) and weather(Biting Frost, etc) cards allowed. Great synergy with all regular unit cards combined with the Decoy card you can keep retrieving cards as long as you have decoy cards to retrieve the medic card.
 |
- Tight Bond cards: Doubles the strength of all cards with the same name. One downside is that you need at least 2 cards of this type for the bonus to count on the field if you only have one make sure to reroll it at the start of each game.
 |
- Muster: Place one card on the field and it will pull all cards with the same name from the deck even if they're not in your current hand. Great synergy with Commanders Horn card since you only need to play 1 Muster card to field ALL of the same name cards. However, be sure to only have 1 in your deck at the start of the game if you have more than reroll that card for maximum effect. Retrieving the card with the Medic card also does not play the entire set from a previous round or discarded card from Scorch.
 |
- Leader card: Foltest: Lord Commander of the North, clears all weather effects allowing you to drop the Clear Wheather cards freeing up space for Decoy cards, Scorch cards as well as one type of weather card best suited for your current deck composition.
 |
Hero cards: You will have none at the start but some might randomly drop from won Gwent games but most have to be won in special quests that tend to be harder to win. And is not affected by any positive(Commanders Horn, Decoy, Medic) or negative effect(weather cards, scorch) from any friendly or opponent card. This works great with Biting Frost if you have a strong front line Hero card line up so you can play the Biting Frost card without a negative effect but in return, the Commanders Horn will not work nor does any other buff.
Even with the other factions special cards such as Decoys, Spy's and Scorch synergizes well however it will require a different play style something that will be covered later on in this Gwent guide for The Witcher 3 Wild Hunt. This setup is for mainly for the begin of the game but it can be used later on as well with more powerful cards. And remember to only have 22 cards and ensure those cards have the highest possible unit strength. Excluding special cards like Muster and Tight Bond make sure to count their total play value, for instance, Blue Striped Commando's have 3 cards(3 duplicates) times 4 unit strength giving a combined strength of 36 and can be doubled with the Commanders Horn too 72. And the Muster cards such as Gaunter O 'Dimm Darkness has a set of 2 duplicates with a unit strength of 4 each but have a total value of 8.
Making combinations, the basics.
This deck composition is for the very beginning of the game and will contain cards you get in the base deck and then you will need to travel around to buy fro various vendors if you a are low Crones you can farm some world events marked with a ? for some loot and seel those at a vendor and then buy the cards he or she sells. And then a selection of cards you can win/find in the early game to buff up your Gwent deck strength. And a basic rundown of some strategy's you can use in the early game to win more cards after you exhausted the vendors by buying their cards.
Base Deck, 22 Unit Cards, 10 Special Cards combined unit strength 111.
 |
|
 |
|
 |
|
 |
|
|
 |
|
|
 |
 |
 |
 |
 |
|
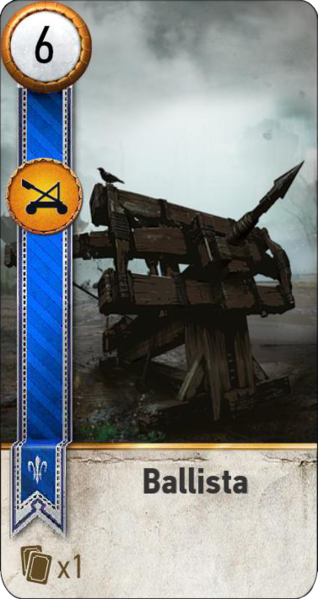
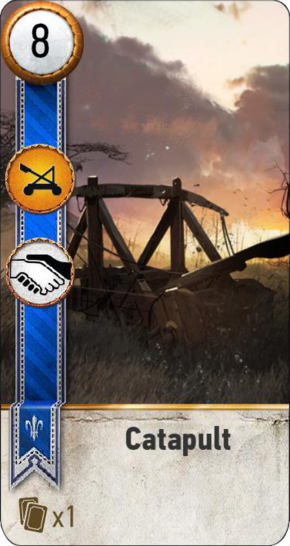
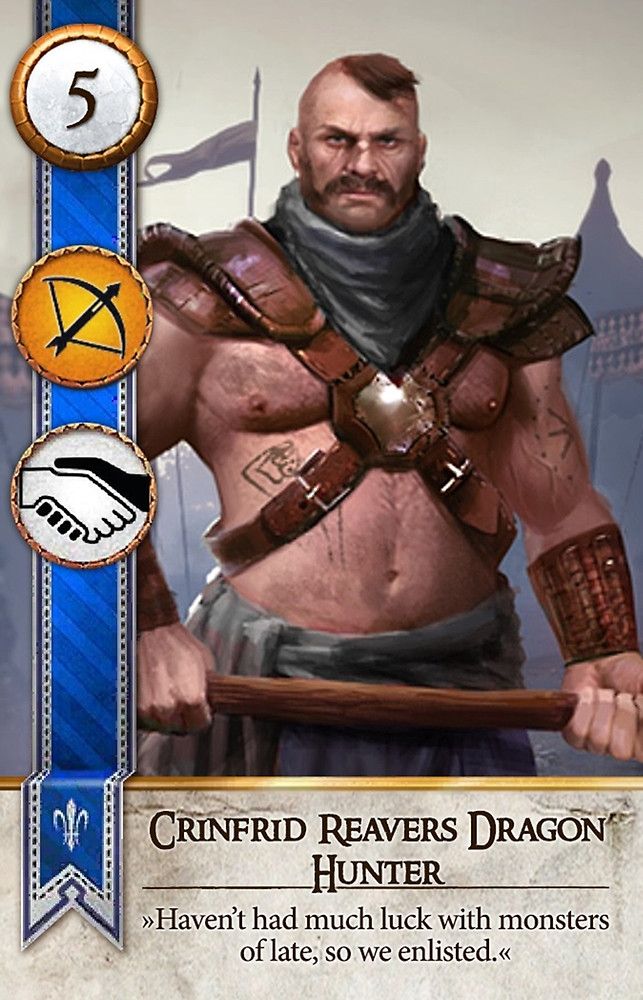
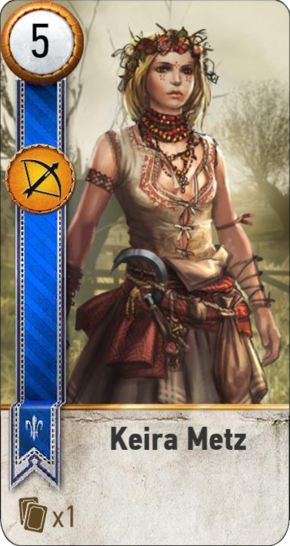
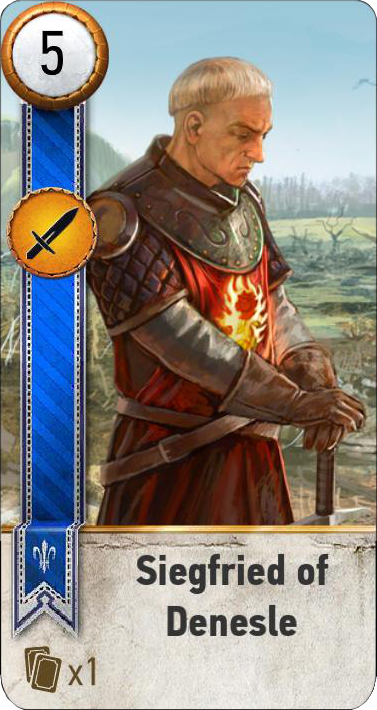
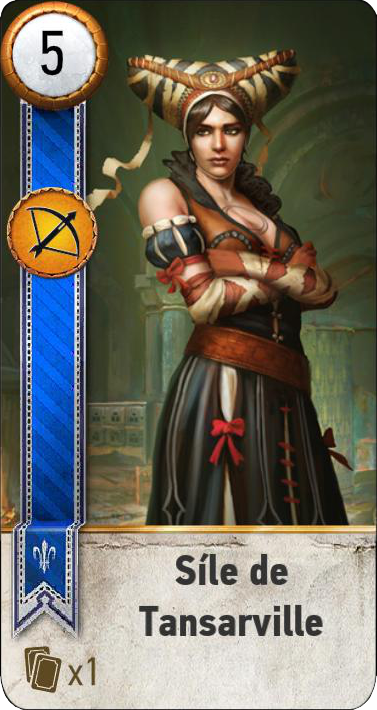
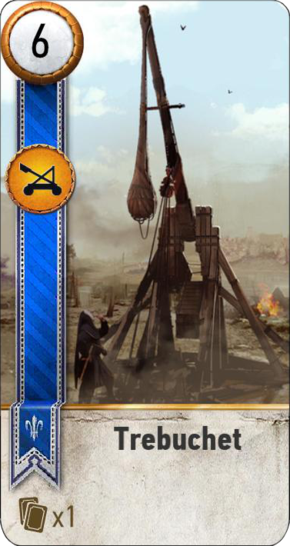
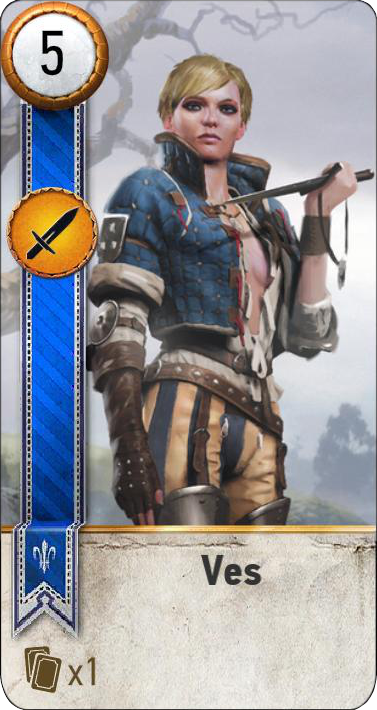
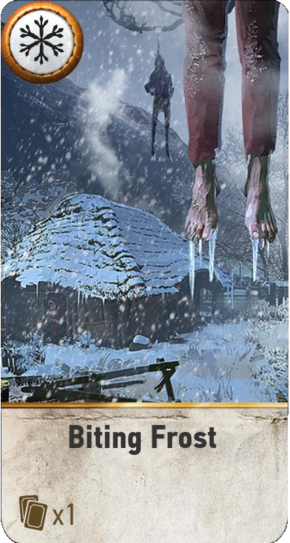
The deck furthermore contains duplicates of the following: Blue Strip Commando's x 3, Gaunter O'Dimm Darkness, Crinfrid Reavers Dragon Hunter x 2, Catapult x 2, Trebuchet x 2, Ballista x 2, any Wheather cards(I prefer biting frost) x 2, Decoy X 3, Commanders Horn x 3, Scorch x 2. My version of the game is bugged so I am missing 1 x Cinfrid Reavers Gradon hunter.
With this deck is it very important to use your leader card ability for the most part in the 2nd or 3rd round. With the weather card to be used as well in the 2nd or 3rd round trying to force your opponent to play their weather cards or clear weather card(s) in the case without option, you can play any of your weather cards to wait out your opponent. Scorch card is especially harmed full for your Muster and Tight bond unit so either wait with playing those or play a higher card to block Scorch from hitting your Muster and Tight bond cards as well as trying to have higher card to match the unit strength number of your opponent making it less likely to play the Scorch card but this works both ways so use with care. Since your starter deck does not hold much Spy or Medic cards you can also use them to pull a card from the playing field to wait out a turn but watch out that this does not expose any of your other cards to the Scorch card on the playing field. Or use the decoy's to replay the opponent spy cards, the opponent will use decoy on your Spy cards so you can retrieve a spy card using decoy again and play it again and again as long as you have Decoy cards. If you do not have any Spy cards in play you can use it on the Medic card in the 2nd or 3rd round to retrieve other cards, simply use the Decoy card to retrieve the Medic cards and play them again. Also, a nice way to gain the upper hand is using the Scorch card to remove an opponent Spy from your side of the playing field and retrieve it the next round using the Medic card so it will automatically play to the opposite side and you get 2 more cards. Weather cards can also be nice to hide your Muster and Tight Bond cards from an opponent Scorch card by lowering their value and hide them behind an opponent or friendly cards. The Commanders Horn cards are great to boost unit strength numbers but only do this at the end of a round and wait out the opponent moves so that you can not be hit with a Scorch card since doubling the unit strength will make them stand out and vulnerable to Scorch cards. But remember to use your Leader card skill to clear the weather to get the full combined unit strength of that row. Also important to here is to note that winning a round grants you one random card from your reserve deck but this only goes for 1 round per game.